Overnight Stays
Sleeping in the snow
Sleeping in the snow is a unique experience. A snow cave, igloo and snow trench give good shelter from wind and cold once you master the techniques.
Contents
Photo: Gina Wigestrand, Snuitide
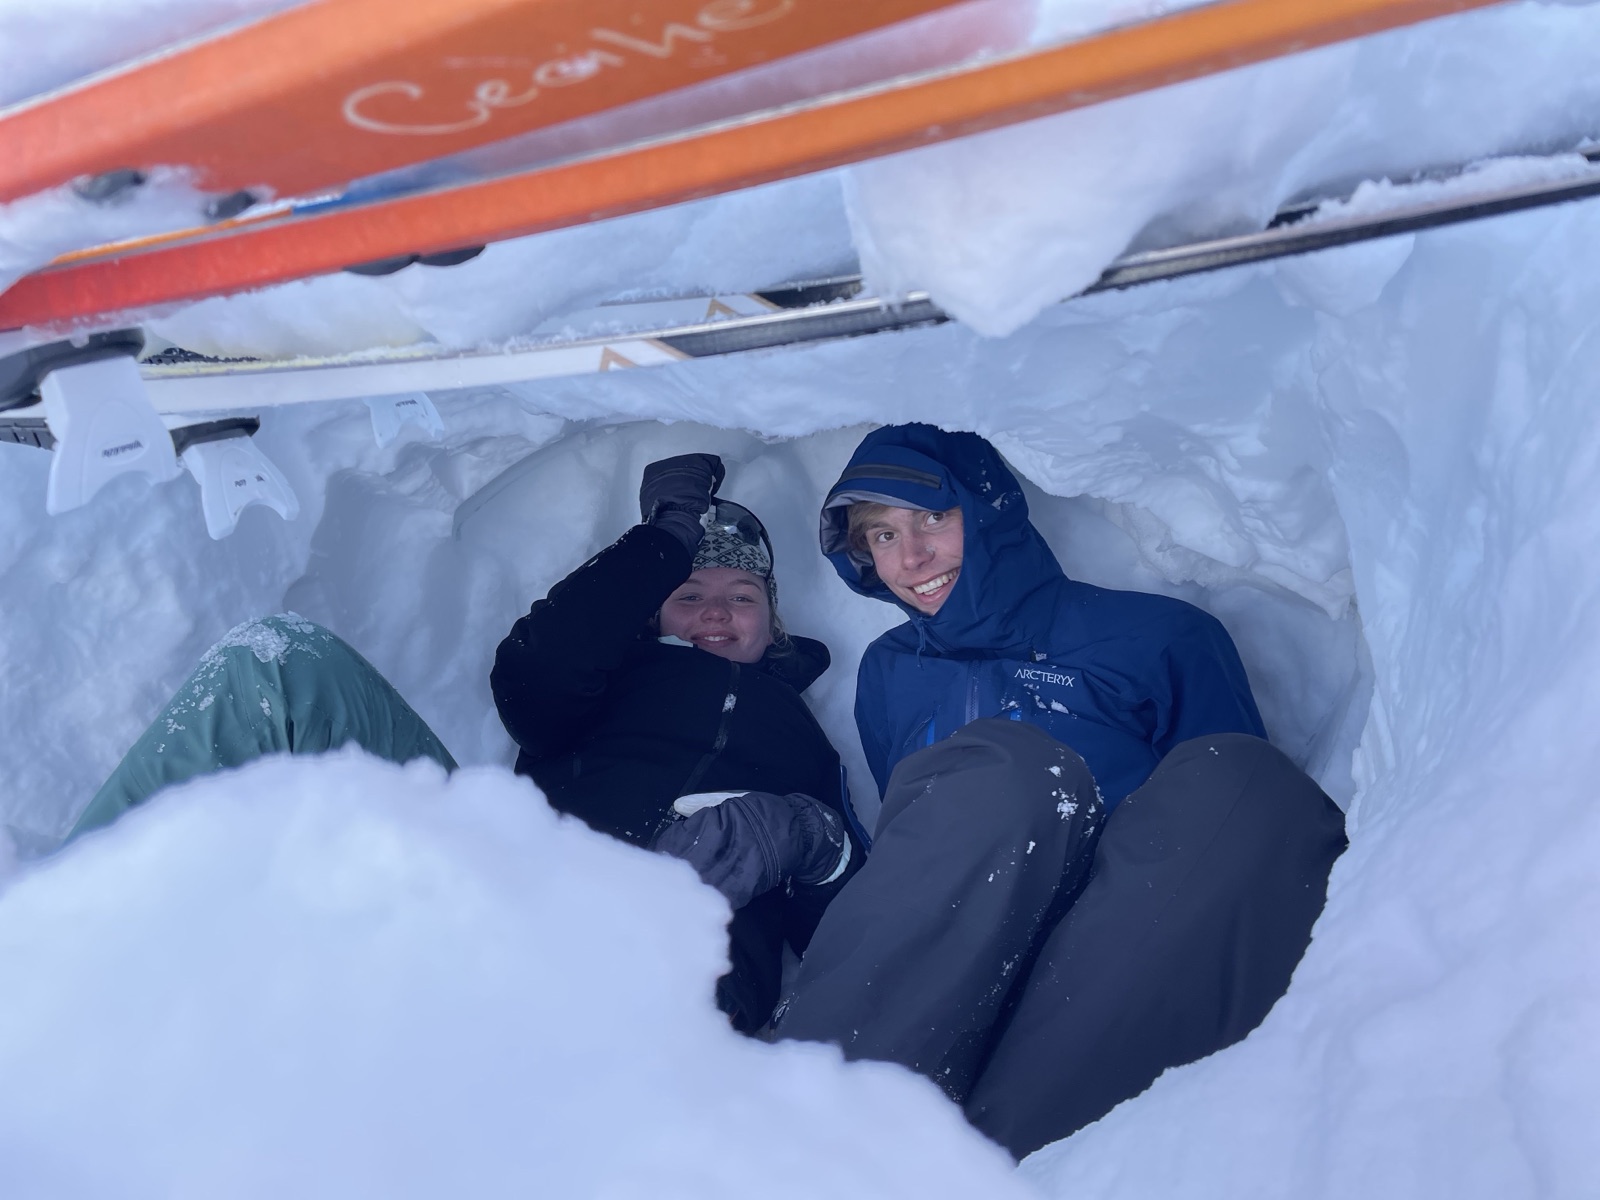
Spending the night in a snow cave has saved many people caught out by bad weather. Knowing how to dig yourself into the snow is therefore useful, and it is an exciting activity at the same time. Digging in snow is a wet activity. Remember waterproof clothing and ideally overboots when you dig.
You need: a spade, a probe, overboots (fotposer), a sleeping mat (ideally two) and a sleeping bag. Ideally a winter sleeping bag or two three-season bags.
Tips for building in snow
from the book Sove ute (Marius Nergård Pettersen, 2021).
- Check the amount of snow.
- Use a probe to check how much snow there is.
- You should be able to dig at least three metres in (snow cave) or 1.5–2 metres down (edge trench).
- Use a good snow spade.
- Go for quality in aluminium, ideally with a shaft that can be extended.
- You may also want to bring a snow saw or an insulation knife).
- Dig smart.
- Do not dig too big – it is more work and a large cave gets cold faster.
- Share out the work and take turns at the heaviest tasks.
- Dress light – with shell clothing outermost so you do not get so wet.
- Keep a dry change of clothes for when you have finished digging.
A wind-built snow drift (skavl) is a good starting point for digging yourself into the snow. Photo: Gina Wigestrand, Snuitide
- Keep safety in mind.
- Do not dig in cornices higher than five metres because of the risk of avalanche.
- Check the quality of the snow.
- Very light snow holds a lot of air and will settle a great deal.
- It is wise to have a person outside the cave in case it collapses.
- Remember the oxygen supply.
- Push a pole through the opening at the entrance to ensure ventilation.
- There is an increased risk of carbon monoxide poisoning when using a stove inside the cave – so ventilate well if you choose to burn fuel inside.
- Always keep a spade inside the cave so you can dig yourself out if the entrance drifts shut.
- Mark the roof with skis and rope, so that no one steps on the roof.
- Set aside plenty of time for digging.
- A snow cave can easily take three hours.
- The architecture of the cave
- Make the walls thick enough – at least half a metre.
- Use ski poles or branches to check the thickness.
- Make the roof arched.
- An arched roof is stronger and therefore settles less than a flat roof.
- Remember an even surface on the roof so that it does not drip.
- Make the sleeping platforms (where you sleep) higher than the floor.
- Ideally they should sit higher than the entrance to the cave.
- Since warm air rises and cold air sinks, it will then be warmer.
- Make the walls thick enough – at least half a metre.
Snow trench / Edge trench
Snow cave
Igloo
Quinzee (snøklokke)
A quinzee is preferable where there is little snow, so that it is not possible to make an igloo, edge trench, snow cave or the like (Horgen, 2010). This snow shelter is a less well-known form of overnight accommodation that originates from North America (Pettersen, 2020).
How to build a quinzee:
- Find a flat area with as much snow as possible.
- Mark out a circle where the quinzee is to be, and fetch snow from outside the circle.
- Throw the snow into the ring that is to become the quinzee. The more snow that comes into the middle, the bigger the quinzee can be.
- As the snow pile grows larger, one or more people must stand on the snow pile and tread, so that the snow becomes firm and the snow crystals bind together.
- Once the pile of snow is big enough and well trodden, use ski poles or sticks and push these 20–30 cm down into the snow. The looser the snow, the further in you must push the sticks. The sticks mark how far out you can dig when you hollow out the snow pile from the inside.
- Wait for the snow shelter to set. The snow must bind together well, so that the pile does not collapse when it is dug out. If it is below minus ten, it can take several days; if it is a couple of degrees below zero, only a few hours are needed.
- Dig in from each end towards the middle. It is important to dig down below ground level to create a cold trap. In the middle, dig out towards the edges until you reach the ends of the sticks you put in beforehand. Make benches to sleep on that sit higher than the top of the entrance.
- Seal one of the entrances, so that not so much cold air gets in from outside (Horgen, 2010).
- For three people the pile of snow must be about 5–6 metres in diameter and about 1.5–2 metres high (Horgen, 2010).
Next steps
- Tips for winter overnighting — practical tips
- Tent and lavvo — an alternative in snow
- Frostbite — knowing the risk
- Avalanches — assessing a camp site in snow
Learn more
- DNT — cabins — the hut network and booking
- UT.no — trip suggestions, cabins and places to stay
- Norsk Friluftsliv — leave-no-trace travel — principles for camp and travel
- Varsom — avalanches — avalanche assessment for a snow camp
Text Gina Wigestrand, Snuitide (2021)
-
Sources
Horgen, A. & Unsgård, J. (2010). Friluftslivsveiledning vinterstid. Kristiansand: Høyskoleforlaget
KVS-Lyngdal (2013, 20. mars). Kvs-Lyngdal: Flatmarksgrop. [Videoklipp] https://www.youtube.com/watch?v=3O8OlAt0rBI&list=PLhBXdb2Nam_oKQouk52mwJYGm_W15x2aH&index=5
KVS-Lyngdal (2011, 7. mars). Kvs-Lyngdal: Hvordan lage snøhule. [Videoklipp] https://www.youtube.com/watch?v=NyGMVXiiLNk&list=PLhBXdb2Nam_oKQouk52mwJYGm_W15x2aH&index=6
Vigane, Å. (2021, 28. mars). Hvordan bygge en iglo? [Videoklipp] https://www.youtube.com/watch?v=0zxFBqDugwk