Repair & Maintenance
Scratches in the ski base
A polyethylene stick and a little heat — how to fill scratches in the ski base before they grow into real problems.
It is easy to hit a stone and end up with a scratch in the ski base. Small scratches are cosmetic; large ones can run deep and wear on the wax. You can do light repairs yourself at home with a polyethylene stick (also called P-tex) and heat.
What you need
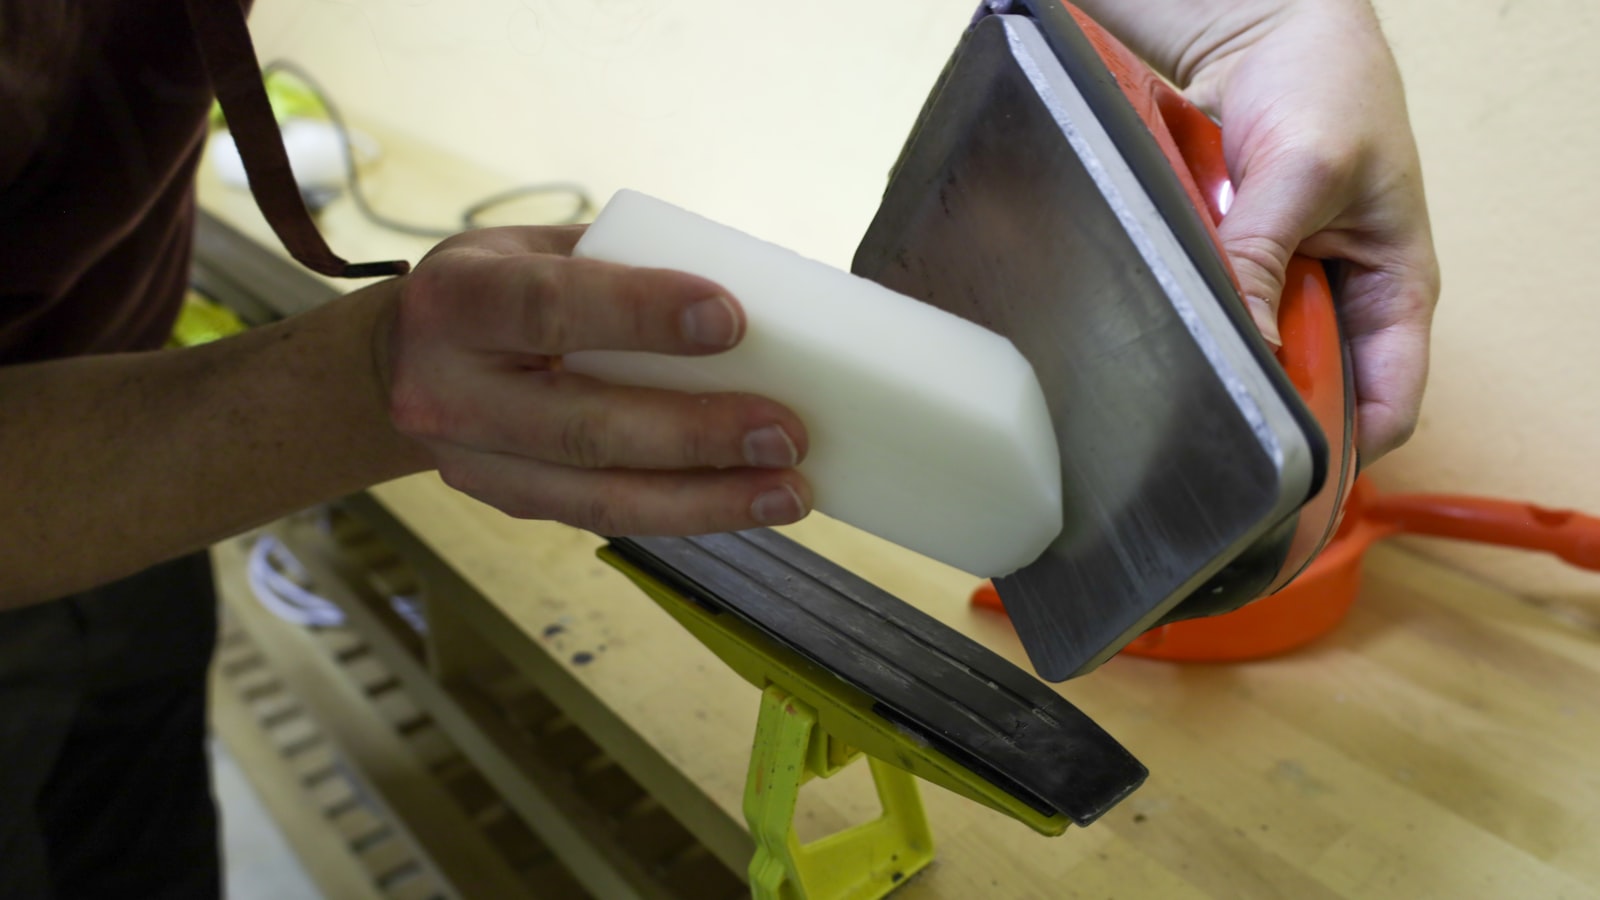
- Polyethylene stick (P-tex stick) — available from sports shops, ~50–100 kr
- An iron or a ski waxing iron (an ordinary clothes iron works as long as the steam function is not switched on)
- Sandpaper (ideally coarse + fine)
- A scraper (plastic scraper for skis)
- A clean cloth and a flat workbench
How to do it
- Clean the scratch — sand away dirt and loose debris. It should be dry and clean.
- Light the polyethylene stick at one end — it burns with a blue/black flame.
- Drip molten plastic straight into the scratch — fill it so there is a little surplus above the edge.
- Let it harden for a few minutes — the surface should turn matte, not wet.
- Scrape off the surplus with the plastic scraper, from the front of the ski towards the tail, until the surface is level with the rest of the base.
- Sand lightly with fine sandpaper if there are any unevennesses.
Larger damage
For deeper cuts or holes where the polyethylene layer has been removed entirely:
- Use a ski waxing iron with the polyethylene stick melted in — this gives a better bond
- For very deep damage: send it in for servicing at a sports shop. They have a P-tex arc machine that gives a professional result.
Prevention
- Check the ground before you set off — especially stony spring snow
- Glide wax protects the ski base and makes scratches rarer
- Do not ski on bare ground — even a short stretch damages the base badly
Back to Repair → · Ski waxing →
Text: Snuitide (2022), revised 2026.