Gear
Avalanche probe
An aluminium or carbon probe, lengths from 240 to 320 cm, and why the avalanche probe is as important as the transceiver — plus all the other things you can use it for.
The avalanche probe (also called a sonde or probe) is a collapsible aluminium or carbon pole that you assemble when needed and use to locate a buried person at the final step — after the avalanche transceiver has located the area, but before you start to dig.
The avalanche probe sounds trivial compared with the avalanche transceiver, but it is one of the three mandatory pieces of avalanche kit (along with the transceiver and shovel). Without it, digging has to begin without knowing precisely where the person is lying — and that costs minutes that are critical.
Material: aluminium or carbon?
Aluminium is the most common choice. Robust, affordable, withstands hard loading. 7075 aluminium is the standard. Weight: 280–400 grams for a 240–320 cm length. Price: 400–800 kr.
Carbon fibre is lighter (200–300 grams), packs down smaller, and is stiffer — but breaks under a hard sideways impact and is more expensive. 800–1,500 kr. Used mostly by ski touring (topptur) skiers who count every gram.
For ordinary ski touring, aluminium is the safe choice — it withstands hard use and is cheaper to replace.
Length — 240, 280 or 320 cm?
Most avalanche probes come in three lengths:
- 240 cm — short, light, good for personal use where you expect quick, shallow avalanches. Limited for large or deep avalanches where you have to probe further down.
- 280 cm — the common “medium” choice. Covers most Norwegian ski-touring situations. The standard for courses and training.
- 320 cm — for those who expect deep avalanches (continental climates, deep valleys, expedition). Heavier and more bulk to pack.
For Norwegian ski touring, 280 cm is the standard. 240 cm is for the weight-conscious, 320 cm for those who travel in particularly deep or avalanche-prone mountain areas (Romsdal, Sunnmøre).
Construction
The pole consists of 4–8 sections joined by an internal steel cable or kevlar cord. When you pull the end free and release, the sections snap together into the assembled position, held together by tension from the cord. A quick-locking system (typically a tensioner at the end or a twist system) locks the sections at full length.
Check when buying:
- The cord tension should be strong enough that the pole snaps fully together on the first attempt
- The locking mechanism should be easy to use with thick mittens on
- The pole should be possible to assemble in the dark and under stress — practise this several times at home before your first trip
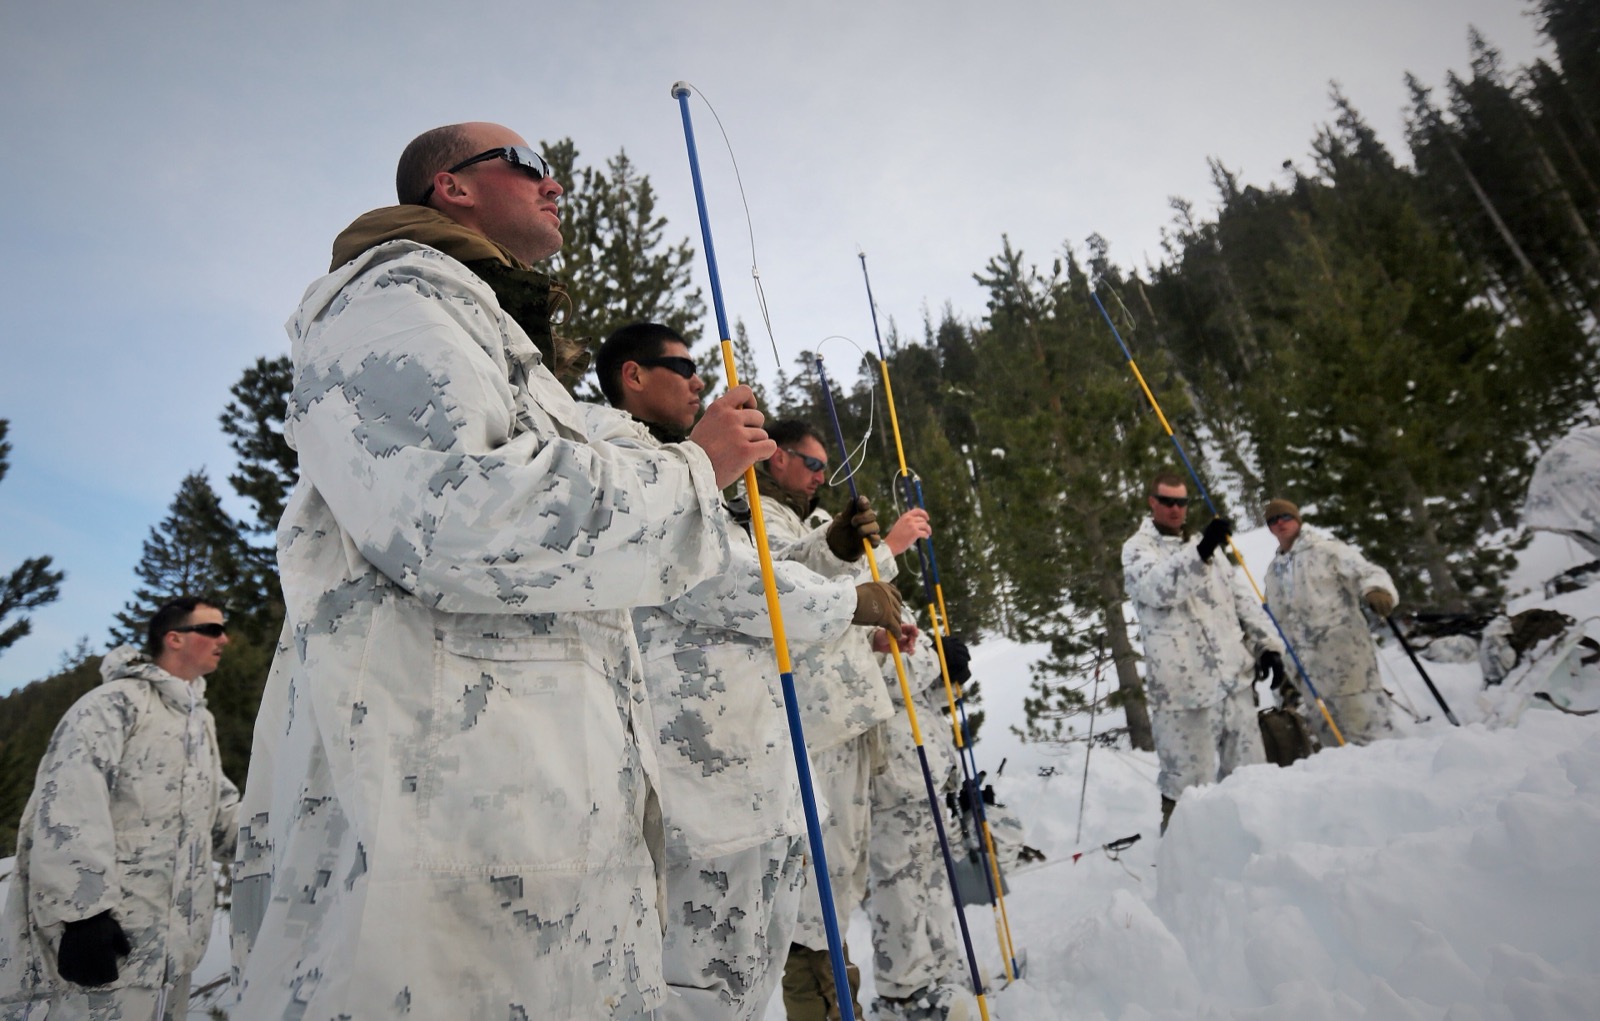
Use in a real search
Once the avalanche transceiver has located the area down to ~1 metre distance:
- Assemble the pole and lock it
- Push it vertically down into the snow in a systematic grid (typically 25 cm spacing between points)
- When you hit something soft that is not snow — it is often the person — leave the pole untouched
- Begin to dig downhill of the pole, not directly above it, so that your weight does not press the snow down onto the person
Professional probing technique varies (circle search vs grid search, single vs multi-probe), and is something you learn on an avalanche course. The main point here is that the pole should be quick to assemble and easy to place systematically.
Other uses
Although its main purpose is avalanche searching, the avalanche probe comes in useful for:
- Snow-depth measurement when you are considering digging a snow pit or snow cave
- Checking whether a snøskavl (cornice) is safe to walk on (measuring the width under the snow)
- Glacier (bre) tours — probing for crevasses when you travel without a tow line
- Measuring the depth of a river before crossing in winter
- Building an improvised shelter — snow-cave poles, wind-wall stakes, twist poles
The last is not in the handbook but is practical on real trips.
Packing and carrying
Pack it with the pole collapsed in its own pocket in the rucksack — preferably a side pocket or a dedicated zone on the back of the pack (many avalanche packs have this). Never inside the main compartment, where it can take time to get out.
Weight distribution: the pole is typically placed vertically or diagonally on the back of the pack, not horizontally across the top (where it catches on branches and gets in the way).
Maintenance
Dry it after wet trips. Separate the sections from one another 1–2 times a season and clean salt or sand off the joints — contamination stops the pole from assembling properly.
Check the cord tension annually. When the cord begins to show wear, it must be replaced — this is a fairly simple repair on most models, or send it in for service.
Replace the whole pole if it is bent or a section is crack-damaged — the function is critical and cannot be risked with worn equipment.
Maintenance of outdoor equipment →
Text: Snuitide (2026), based on the technical documentation of Black Diamond, Mammut and BCA, as well as recommendations from Norwegian avalanche-course instructors.