Repair & Maintenance
Replacing the front zip on jackets
The coil has come loose, the teeth are missing, or the bottom stop is broken. Here is how to remove the old zip and sew in a new one — also on waterproof shell clothing where the seam must be sealed afterwards.
When the front zip on a jacket gives out — the coil has come loose from the tape, the teeth are missing, or the bottom stop is broken — the whole zip has to be replaced. It is a substantial repair, but not a difficult one if you have a sewing machine and a little patience.
Get a new zip
Three routes:
- The garment manufacturer can often sell you an original zip
- A haberdashery stocks generic zips in many lengths
- A charity shop — find a garment with a zip you can take off
Ideally exactly the same length as the old one, but a longer one can be cut down.
Types of zip
Two main types on outdoor gear:
- Tooth zip — solid metal teeth, used on hard-wearing garments and some tents
- Coil zip — a plastic coil that slides, the most flexible, the most common on modern clothing
Both come in water-repellent versions with a plastic top coating that keeps water droplets out. Sizes 3 and 5 are used on clothing, 8 on tent entrances, 10 on lavvos and large tents.
What you need
- Sewing machine and thread
- A new zip
- A seam ripper or sharp thin knife (a razor blade works well)
- Pins
- For a longer zip: 2 zip stops
- For shell clothing: seam tape or heat-bonding vinyl (varmevinyl) + urethane-based adhesive
How to do it
1. Remove the old zip
Use the seam ripper (or a razor blade) to carefully cut the seam between the zip and the fabric. Slide the knife through and cut through the threads. Once you have made a start, you can pull a little apart — it gets easier.
The bottom and top are often sewn on extra securely — take your time.
On shell clothing there is seam tape on the inside. Cut carefully through it with a thin knife; you can often pull the rest off by hand.
2. Clean off thread remnants
Remove all the small threads. The result looks neater, and remnants can get caught in the sewing machine.
3. Sew on the flap (if the jacket has one)
Many jackets have a fabric flap behind the zip that seals against the wind. If your jacket has one, sew it onto the lining with a straight stitch (stitch length 3–4) before you sew on the zip itself.
4. Fix the zip in place with pins
Both sides, the full length. Start at the bottom and check carefully that the sides match up — crosswise seams (pockets, vents) should sit at the same height.
5. Cut to the right length
If the new zip is longer, cut it 2 cm longer than needed:
- Coil: fit a zip stop where the slider should stop, fold the extra 2 cm inwards at a diagonal out to the side, fix with a pin
- Teeth: use pliers and crush the teeth on the 2 extra cm, then fold inwards
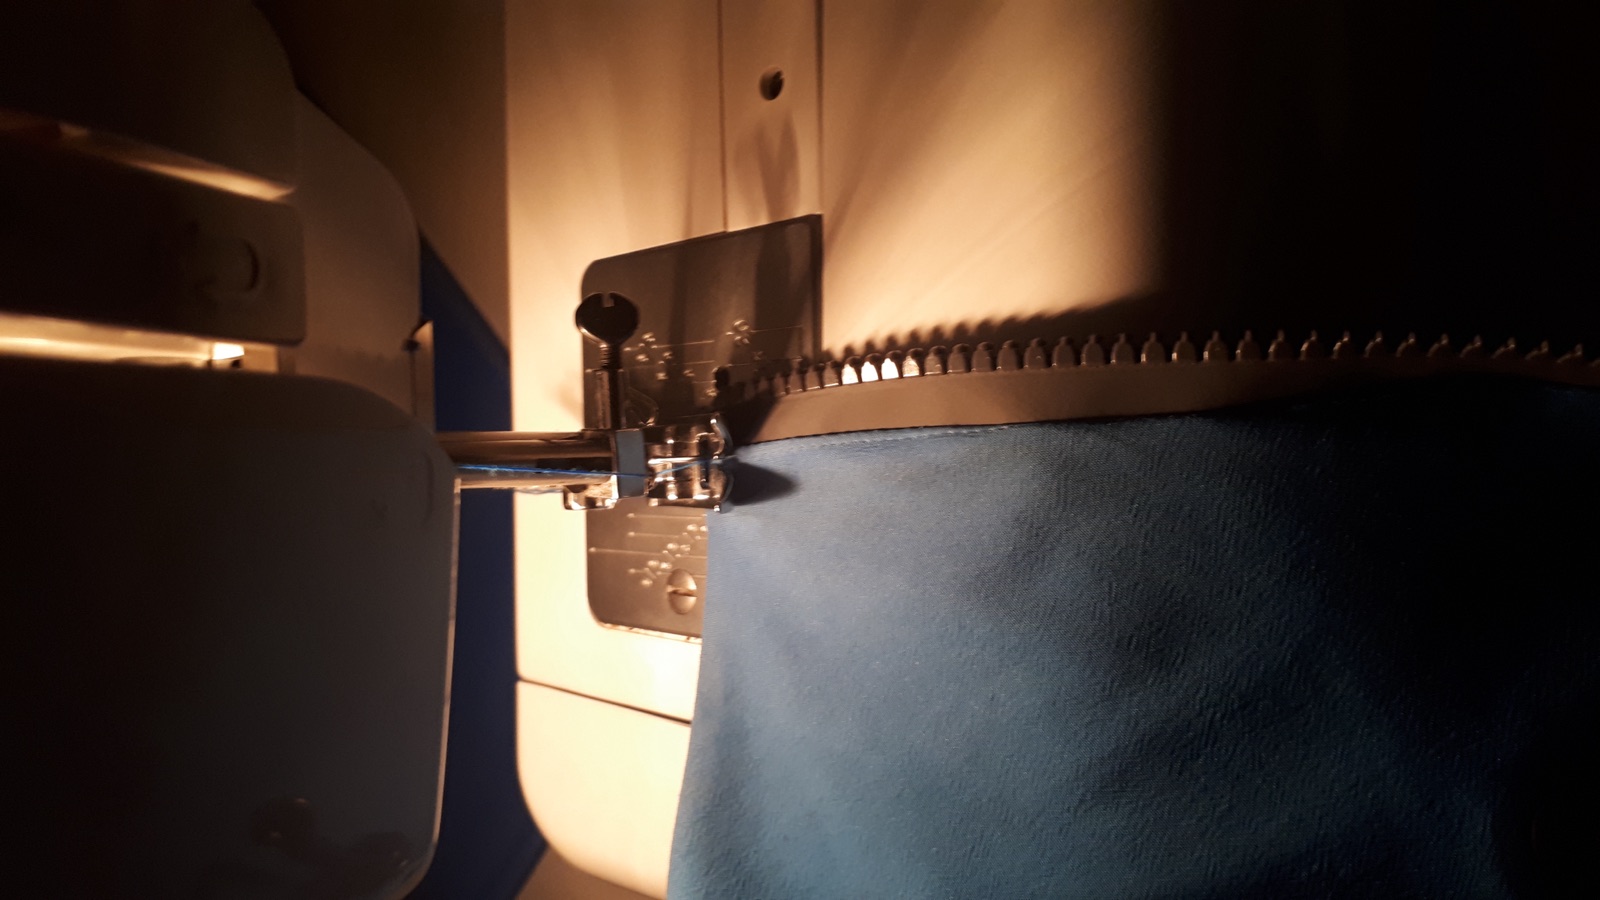
6. Sew it on
- Pull both sides of the zip apart before you sew
- Straight stitch, stitch length 3
- Set the presser foot against the zip coil/teeth and adjust the needle position (via the zigzag width) so that it lands one millimetre in onto the fabric
- Remove the pins as you sew
- Sew back and forth at the bottom and top to lock the seam
7. Waterproof sealing (shell clothing only)
For Gore-Tex or other waterproof shell clothing — the seam must be sealed on the inside:
- Seam tape (best result) — applied with an iron
- Heat-bonding vinyl (varmevinyl) + matching fabric
- Urethane-based adhesive with a strip of fabric
All three work; seam tape gives the neatest result.
Tips
- Adhesive tape along the zip area can hold everything in place while sewing
- Tape the edge of the water-repellent coating if it flakes off when you sew
- More time than you think — set aside a weekend, not an hour
Back to Repair → · Replacing the zip slider → · Sewing holes and tears →
Text: Snuitide (2022), revised 2026.
Video resources: Bykuben — skifte glidelås i jakke · Easy Sewing Easy Life — glidelås på jakke med fôr